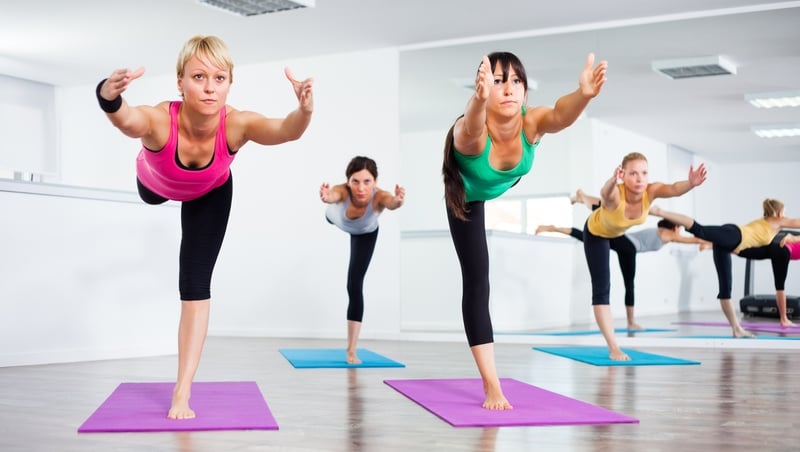

Trying to listen to all of the alignment cues that are given in a yoga class and understanding how to put your body into the right position can be overwhelming - especially if you’re completely new to the practice and are just trying to breathe and not fall over! That’s why every month I will break down a pose, show you how to get into it safely, highlight its benefits and offer one or two top tips.
Continuing with the Warrior series, this week’s pose is Warrior III (also known in Sanskrit as Virabhadrasana III)

 Establishing the Foundation of the Pose
- Begin by standing in Tadasana (Mountain Pose), inhale
- On the exhalation, fold forward into Uttanasana (Standing Forward Fold), inhale here
- Exhaling, step back with the left foot into a high lunge keeping your right knee stacked directly above the right ankle
- Lay your torso on top of your right thigh and bring both hands to your right knee (right hand on the outer knee, left hand on the inner knee)
- Pressing into the knee, raise the torso slightly


Moving into the Pose
- Lengthen both arms forward, alongside the ears and parallel to the floor, palms facing each other
- Inhale, and as you exhale, press strongly into the right foot to begin straightening the right leg while simultaneously lifting the left leg off the ground and extending it back, pressing out through the left heel
- Try to imagine pressing the tailbone into the pelvis


Maintaining the Pose
- Aim to distribute the weight evenly on the right foot (there is a tendency to lean into the ball of the foot here)
- To maintain stability, try to press the head of the right thighbone back into the hip and ground the right heel into the mat
- Often, in this position, the pelvis tends to tilt. Aim to lower the hip of the raised leg towards the floor until both hips are level and parallel to the floor
- Press strongly through the raised leg to the wall behind you while also extending through the crown of the head and reaching actively in the opposite direction with the arms
- Raise the head slightly to gaze at a fixed point past your toes
- Maintain this position for 3-5 long breaths


Completing the Pose
- Inhale and, as you exhale, bend the right knee, to lower the left leg back down into a high lunge
- Place both hands on the floor, either side of the right foot, and inhale
- On the exhalation, step your left foot forward to meet the right and stay in this forward fold for 1-2 deep breaths
- Repeat on the other side


Benefits of the Pose
- Improves balance, posture and stamina
- Strengthens the legs and ankles
- Strengthens the shoulders and back muscles
- Tones the abdomen and core


Don’t do it if…
- You are currently experiencing high blood pressure
- You have recently injured legs, hips, back or shoulders
- If you have tight shoulders or feel unbalanced, try extending the arms to the side or placing the hands on the hips
- Another option is to extend the arms alongside the torso and hips, palms facing in
- Finding balance in this pose can be difficult, especially for beginners. Try placing a chair just in front of the top of your mat with the back facing you. When you stretch your arms forward, hold the back of the chair as lightly as possible
Love this article? Check out the Yoga Bear's tips for using yoga to help your pregnancy.