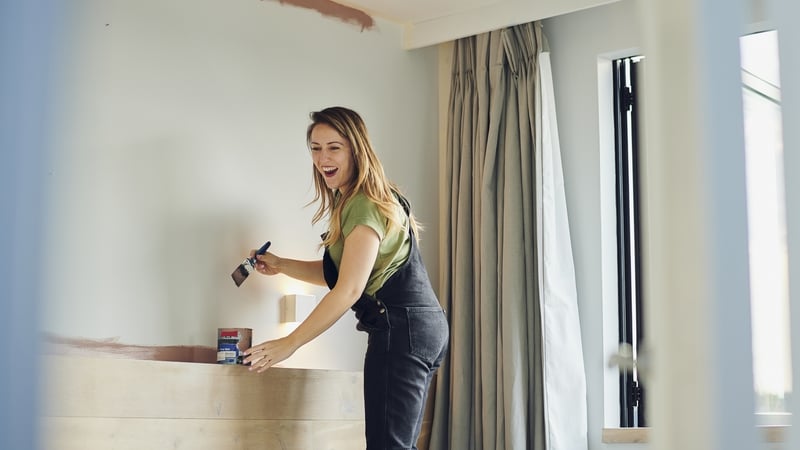
When it comes to home improvements, sometimes it’s simply a matter of a little know-how to get the job done.
Especially when you have the right tools of the trade, done the research, planned ahead and most importantly, there’s the sense of achievement that comes when you stand back and admire your handiwork.
To put you on the front foot, Josh Jinks, brand manager at UltraTile, shares three practical projects to complete in a couple of days or 48 hours, to elevate your space…
1. Give your front door a fresh new look
First impressions count, and a fresh coat of paint can completely transform your home’s entrance…
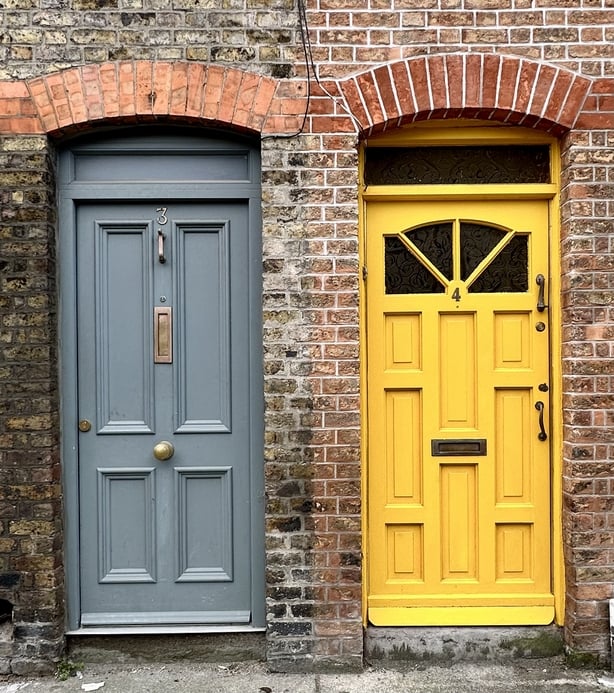
"Pair it with polished or new exterior hardware like handles, letterboxes, and house numbers to boost your property’s kerb appeal," suggests Jinks.
You’ll need: Sandpaper 120 grit, painter’s masking tape, exterior paint (satin or semi-gloss), paint roller and tray (or angled brush for details), cleaning cloth or sponge, screwdriver (for hardware removal).
Here’s how: "First, start by cleaning the door’s surface with soapy water and allow it to dry completely.
"Sand the door lightly to ensure a smooth finish and help the paint stick. Then, apply painter’s tape before you start painting to protect the hinges and edges."
Apply one to two coats of your chosen exterior paint, using a roller for large areas, says Jinks, and a brush for detailed spots.
While the paint dries, he says to remove and clean your door’s hardware for a full refresh.
For an entirely new look, Jinks suggests replacing the handles and numbers for a complete makeover.
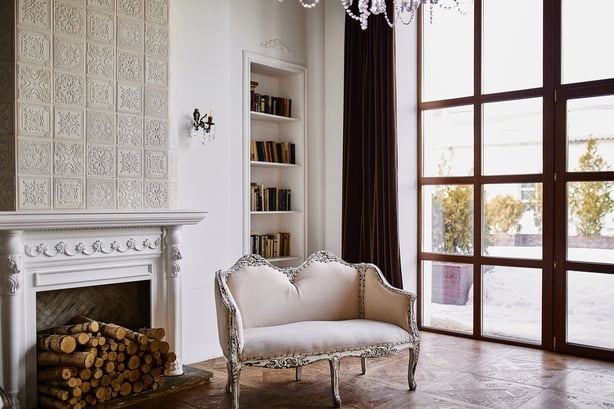
2. Add a splashback or decorative tiling for instant style
Decorative tiles are trending, and a striking splashback behind your sink or hob doesn’t have to be a major renovation.
Moreover, a feature wall in a glossy finish makes a chic focal point…
"With a bit of patience and planning, you can install real tiles over a weekend and enjoy a sleek, professional finish," suggests Jinks.
You’ll need: Tile adhesive (ready-mixed for walls is easiest), notched adhesive spreader, spirit level, tile spacers (2mm-3mm typical), tile cutter (manual snap cutter for straight cuts; tile saw or nippers for corners), grout (powdered or ready-mixed), grout float, sponge and bucket (for clean up), silicone sealant (for edge finishing), masking tape and dust sheets (optional but helpful).
Here’s how: "Clean the wall area thoroughly and remove any flaky paint or debris. Mark a straight guide line for your first row of tiles.
"Spread adhesive evenly, place tiles using spacers, and press firmly – check alignment regularly with a spirit level," advises Jinks.
Allow adhesive to dry as instructed before applying grout. He says to then fill joints with grout, clean off residue, and finish edges with silicone for a clean look.
3. Modernise your cupboard hardware
If your cabinets feel dated, try updating the hardware, suggests Jinks.
"New knobs or handles can modernise the look of kitchens, bathrooms, or bedrooms without replacing any furniture."
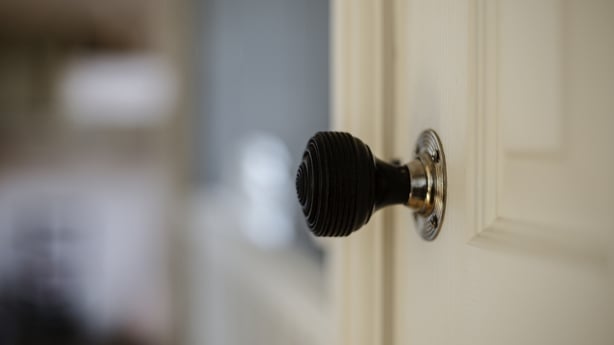
And with such a broad range of sleek designs such as mixed metals, contemporary matt black, or vintage-inspired knobs with antique brass effect, it’s a quick win to update your decor.
You’ll need: Screwdriver kit or drill with screwdriver bits, tape measure or ruler, pencil (for marking holes), wood filler and putty knife (if patching old holes), and sandpaper (fine grit).
Here’s how: "Clean your cabinets using a gentle cleaner. Remove existing handles or knobs.
"If changing the style or placement, fill the old holes left by your old handles and sand the surface smooth."
He continues: "Measure and mark the new hole placements carefully. Drill pilot holes and attach your new hardware." Ta da!