
Trying to listen to alignment cues in a yoga class and understanding the right positioning can be overwhelming. Especially if you’re a complete beginner and simply trying to just keep up! That’s why every month I will break down a pose, show you how to get into it safely, highlight its benefits and offer one or two top tips.
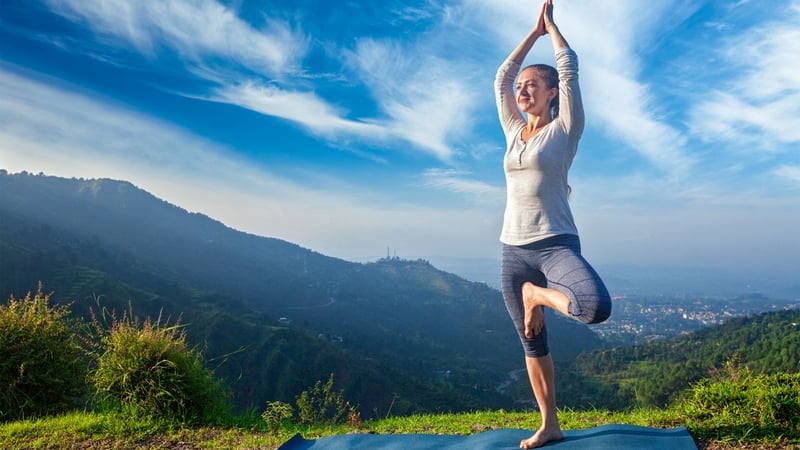
This month, we are focusing on Tree Pose, also referred to as Vrksasana in Sanskrit. A really nice standing, balancing pose, Tree Pose demonstrates just how difficult it can be to stand on one leg!
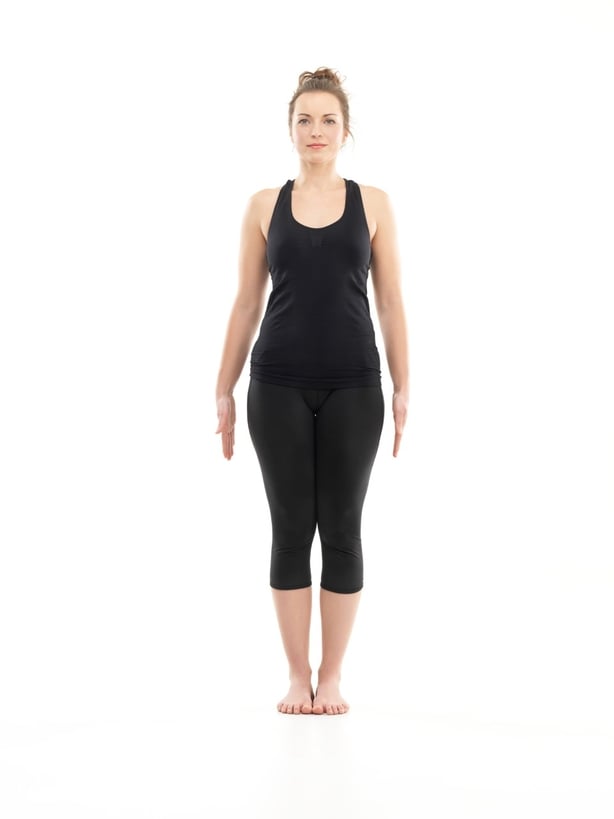
Establishing the Foundation of the Pose
- To begin, you can stand in Tadasana (Mountain Pose) and establish a firm foundation
- Also known as a drishti, find an unmoving point to focus on with your eyes and soften your gaze
- Place your hands on your waist, just above your hips, for now, and start to transfer your weight onto your left foot
- Keeping the left foot firm and grounded, begin to bend the right knee
- Gently lifting the right heel, rotate the leg from the hip out to the right and lightly rest the right heel above the left ankle
- If you feel balanced enough here to take it a little further, lift the right foot off the ground and lightly place the sole against the left lower leg, below the knee joint but above the ankle
- Feeling strong and stable? Reach down with your right hand to clasp the right ankle
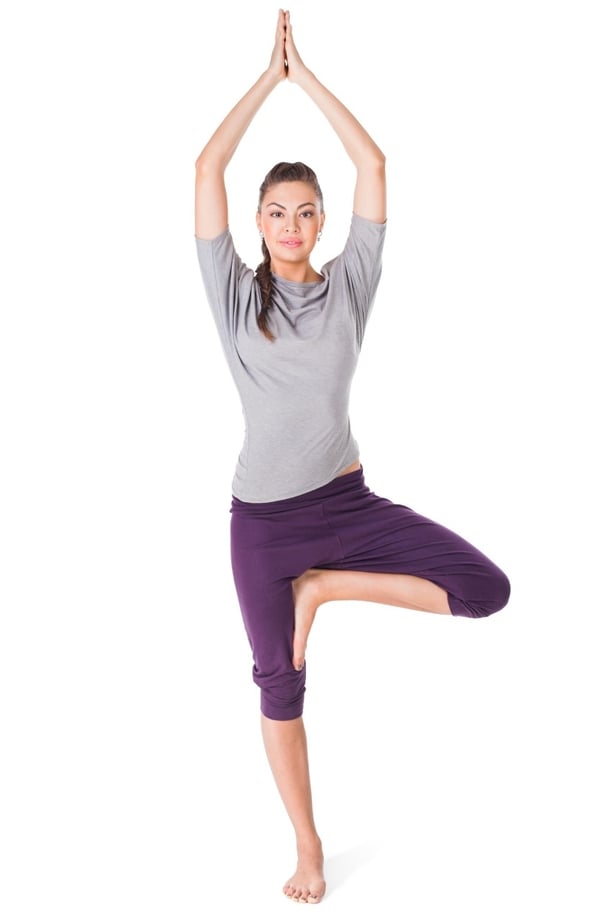
- Draw the right foot up and place the sole against the left inner thigh
- Press the right heel into the inner left groin with the toes pointing towards the floor
Moving into the Pose
- Making sure the pelvis is in a neutral position, lengthen the tailbone towards the floor
- Press the right foot firmly against the inner left thigh and create resistance with the outer left leg
- Bring your hands into prayer position in front of the heart centre
- If you’re feeling comfortable here, raise your hands up through the midline, past the forehead and above the head with the arms straight, alongside the ears
- You can also separate the hands and bring them shoulder width apart and extending upwards with relaxed shoulders
Maintaining the Pose
- Ensure to stay strong in the left standing foot, keeping the leg engaged, the thigh firm, offering resistance to the right foot
- As the right foot presses against the left thigh, track the right knee back, opening the groin but without compromising the position of the pelvis (keeping the pelvis neutral, tailbone lengthening down)
- Engage the core muscles, rib cage in and keep the chin tucked slightly
- Stay here for a couple of breaths
Completing the Pose
- If extended, bring the arms back to prayer position to rest at the heart centre
- Step back into Tadasana, close your eyes and pause for a moment
- Repeat on the other side
Benefits of the Pose
- Improves sense of balance, posture and postural awareness
- Strengthens and stretches the legs and ankles
- Stretches the spine and groins
- Calms the mind

Don’t do it if…
- You are experiencing high blood pressure – don’t lift the arms overhead
- Do not place the foot against the knee joint at any time. If unsteady, bring the foot to rest on the lower leg, below the knee or let the heel rest above the ankle
- If a little of kilter, try the pose against the wall until to find your balance
Top Tip:
If you are not sure you are completely in line, practice the pose against a wall making sure the heels, sacrum (between your lower back and your buttocks) and shoulder blades touch the wall. For more of a challenge, close your eyes and see if you can maintain your balance.
Like this article? Check our more of the Yoga Bear's tips here!