
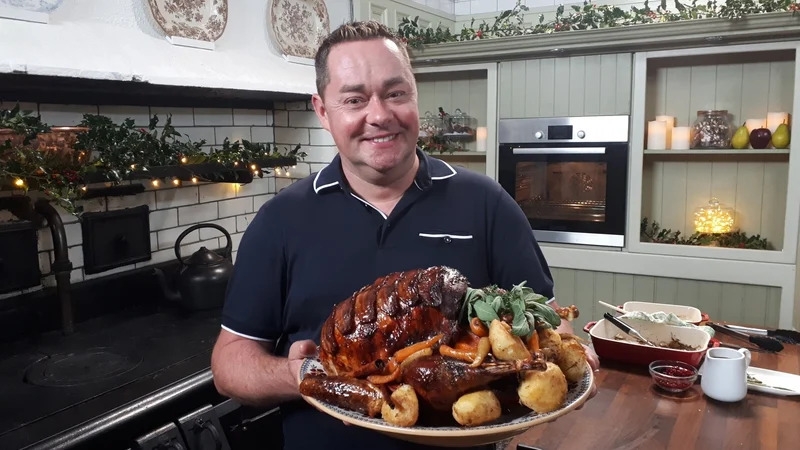
Buttermilk Brined Roast Crown of Turkey with Lemon and Tarragon
A great alternative to roasting a large bird, the crown is the turkey breasts and wing joints with the legs removed. From feedback this is the most popular recipe I've ever done, as the buttermilk brine ensures that the flesh stays wonderfully succulent.
SERVES 6–8
- 1 x 1.8–2kg (4–4½lb) turkey crown,
- off the bone
- 75g (3oz) butter, softened
- 1 garlic clove, crushed
- finely grated rind of 1 lemon
- 1 tbsp chopped fresh flat-leaf
- parsley
- 2 tsp chopped fresh tarragon
- 4 rindless smoked bacon rashers
- For the buttermilk brine:
- 2 litres (3½ pints) buttermilk
- 2 lemons, thinly sliced
- 1 garlic bulb, separated into cloves
- and sliced
- 15g (½oz) fresh tarragon sprigs,
- roughly bruised
- 3 tbsp sea salt or kosher salt
- 2 tsp freshly ground black pepper
1 Mix together all the ingredients for the buttermilk brine in a turkey bag, then add the turkey crown. Tie up the bag securely and put in the salad drawer at the bottom of the
fridge – up to two days is best, but brine for at least 24 hours.
2 Preheat the oven to 190°C (375°F/gas mark 5).
3 Cream the butter until soft, then beat in the garlic, lemon rind and herbs. Remove the crown from the brine and drain off any excess liquid, then pat the skin dry with kitchen paper.
Gently loosen the neck flap away from the breast and pack the flavoured butter right under the skin (this is best done using gloves on your hands). Rub the butter into the flesh, then re-cover with the skin and secure with a small skewer or sew with fine twine. Cover the top of the turkey crown with
the rashers.
4 Put the prepared turkey crown in the oven and calculate your cooking time: 20 minutes per 450g (1lb) plus 20 minutes. This will cook much quicker than a whole turkey, so make sure to baste it
often. You can cover it with foil if it’s browning too quickly. When cooked, cover with foil to rest and keep warm. Drain away the cooking juices to make the gravy.
5 To serve, carve the turkey crown into slices and arrange on warmed plates with a selection of your favourite accompaniments.
Honey glazed ham with Cloves
This ham is cooked in the traditional manner: it’s simmered in a large pan first before being finished off in the oven, which keeps the finished result really moist.
SERVES 10–12
- 5.25kg (11½lb) leg of gammon, on
- the bone and skin on
- 4 celery sticks, roughly chopped
- 2 onions, sliced
- 1 bunch of fresh thyme
- 1 tbsp black peppercorns
- 200ml (7fl oz) Irish whiskey
- 200ml (7fl oz) honey
- 2 tbsp redcurrant jelly
- 2 tbsp balsamic vinegar
- 1 tbsp ground allspice
- 2 tsp whole cloves
1 Soak the gammon in cold water for at least 6 hours (or overnight is best), then drain.
2 Weigh the gammon and calculate the cooking time, allowing 20 minutes per 450g (1lb) plus 20 minutes – this size takes about 4 hours. Put in a large pan, cover with water and
bring to the boil, skimming off any scum. Add the celery, onions, thyme and peppercorns and return to the boil, then cover, reduce the heat and simmer until completely tender,
occasionally skimming off any scum that rises to the top. If you aren’t sure the gammon is properly cooked, check the bone end – it should come away freely from the gammon
joint. Drain and leave until cool enough to handle.
3 Preheat the oven to 180°C (350°F/gas mark 4).
4 Carefully peel away the skin, leaving the layer of white fat intact. Using a sharp knife, score the fat diagonally to make a diamond pattern.
5 Put the whiskey in a pan with the honey, redcurrant jelly, balsamic vinegar and ground allspice. Bring to the boil, then reduce the heat and simmer for 10 minutes, stirring occasionally, until slightly thickened. Stud the ham with the cloves and put in a large roasting tin with a little water to
prevent the bottom from catching and burning. Brush a layer of the glaze all over the ham, reserving the remainder. Cook in the oven for 1 hour, brushing over another layer of the glaze
every 15 minutes, until it’s all gone. Transfer to a platter and leave to rest for 15–20 minutes before carving into slices to serve. Use as required.
Apricot & Sage Stuffing Balls
This stuffing is very versatile and can also be cooked inside the bird or in a separate buttered dish so it becomes very crisp. It’s really good with turkey, goose or even chicken. These can be made two or three days in advance and kept in the fridge until needed.
MAKES 9
- 75g (3oz) butter, plus extra for greasing
- 1 large onion, diced
- 1 tbsp chopped fresh sage
- 175g (6oz) fresh white breadcrumbs
- 100g (4oz) dried apricots, finely chopped
- finely grated rind of 1 small orange
- 1 tbsp chopped fresh flat-leaf parsley
- sea salt and freshly ground black pepper
1 Melt the butter in a frying pan set over a medium heat, then add the onion and sage and cook for a few minutes, until the onion has softened but not coloured. Put the breadcrumbs in a bowl and tip in the onion mixture, then mix well to combine and season to taste. Fold in the apricots, orange rind and parsley. Roll into nine balls and either arrange around the bird or place in a small buttered roasting tin.
2 When ready to cook, preheat the oven to 180°C (350°F/gas mark 4).
3 Cook the stuffing balls in the oven for about 20 minutes, until cooked through and golden brown. Serve immediately in a warmed dish.