
Why are arrays important in coding?

With each lesson, we build on our coding knowledge and continue to add more and more to our program. This increased amount of code including variables and different data types will mean that we have to find a way to become as organised as possible. That is where arrays can be very important as they allow us to store an indefinite amount of related information in a structured fashion.
In our last lesson, we asked you to identify an item that you collect in your house, think of that collection as an array and then identify the following based on that: array length (number of items in your collection), array type (what is it that you are collecting), array sort (how is your collection organised) and array index (an unique address to help us easily find that item again in the collection).
For example, if I collect different types of rocks, my answers would be:
- Array Length = 5
- Array Type = Rocks
- Array Sort = Sorted by rock type (e.g. granite)
- Array Index = The first slot in our array is index 0 and then we increase by 1 until we reach the end of our array (as in our image below).
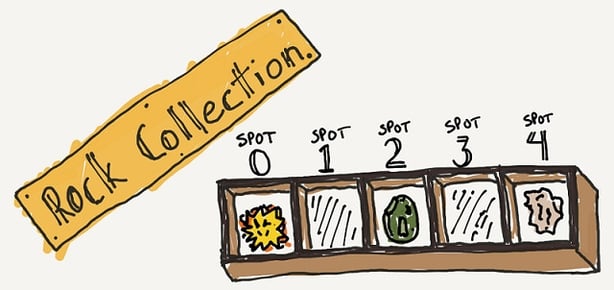
Did you know? Each item in an array is called an element of the array and each element is found using the index.
Once we have arrays created in coding, we can easily add elements, remove elements, count the elements and even sort the elements in a different way with coding commands. Arrays are a great way for us to work with lots of related items at once. To test your understanding of indexes, try our quick unplugged activity below:
Try this out at home
What you will need: Pen/pencil, paper
The picture below shows six buckets of paint, each a different colour. From left to right we have a blue bucket, red bucket, green bucket, purple bucket, pink bucket and brown bucket of paint.

(a) Can you identify the array length of the elements above?
(b) Can you index the above (like we did with our rock collection)?
When your index is done you should be able to easily identify the location of each element. For example, at index [1], the element is the red bucket.
(c) What element is at index [3]?
(d) What element is at index [5]?
(e) What is the index for the element (green bucket)?
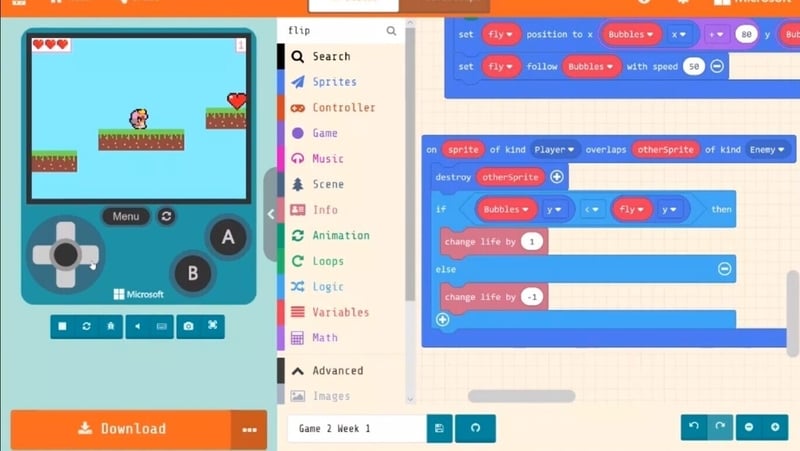
Hopefully, all of this knowledge will help you evolve your game design even more now in MakeCode Arcade. Let's get going with lesson six below.
After getting this far with the game, we want to be able to code for a new level (level two) next. In preparation for this, the DreamSpace team want you to plan the game design, features and rules that you want to include in level two.
This will mean you are prepared for all of these aspects in the next lesson. Download the PDF file to help guide you with your plans for levelling up!
